Creating My First WCF Service using PowerBuilder 12.5 .NET
I’ve finally taken the time to start digging into PowerBuilder 12.5.NET and this time I wasn’t going to stop until I had a working WCF Service created. Not only did I want a working WCF Service created entirely in PowerBuilder, but I wanted it to access a Microsoft SQL Server 2008 database and consume the service in a Microsoft ASP.NET MVC 3 Telerik website! I’m happy to say that it took less than a day to throw together a working WCF Service that accessed Microsoft SQL Server 2008 database, and use that service to provide data to my ASP.NET MVC3 website.
A Quick Review of WCF Service Basics
The first steps I took prior to starting up PowerBuilder 12.5 .NET were to go over the basics of WCF and WCF Services. Not only had I not created a WCF Service in PowerBuilder, but I had not created one in Visual Studio either. WCF Services were one of those things that seemed simple enough in concept but any time I tried to create one I ended up spinning my wheels and running out of free time (or energy) to follow through. Not this time…
The five basic tasks in creating a WCF Service right from the Microsoft Website are, in order:
- Define the service contract. A service contract specifies the signature of a service, the data it exchanges, and other contractually required data. For more information, see the Microsoft documentation on Designing Service Contracts.
- Implement the contract. To implement a service contract, create a class that implements the contract and specify custom behaviors that the runtime should have. For more information, see the Microsoft documentation on Implementing Service Contracts.
- Configure the service by specifying endpoints and other behavior information. And more information at Microsoft on Configuring Services.
- Host the service. For more information, see Hosting Services.
- Build a client application. For more information, see Building Clients.
I have to admit that it’s been more fun than I expected. Due to the lack of good information about PowerBuilder 12.5.NET I decided to document the entire process of creating a WCF Service with PowerBuilder. This article takes you through the initial steps that I took of getting a WCF Service working with PowerBuilder 12.5 .NET and I went through the process twice just to make sure that it should work for everyone.
A Look At The Finished WCF Web Service
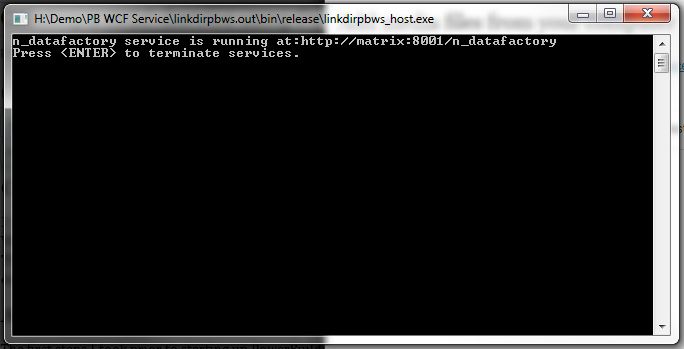
When you create your web service you’ll have the option of hosting in IIS or hosting as a console application. Hosting as a console application is a little easier so I went with that one first. There are some settings in IIS that make hosting in IIS more challenging, and make using the console application while developing a good idea. The running web service that I created with PowerBuilder 12.5 .NET doesn’t look very impressive at all. Here is how it looks as a console application.
I started the web service from within PowerBuilder in the project object. There is a button for starting the web service and one for testing the web service for basic information about the service contracts and endpoints.
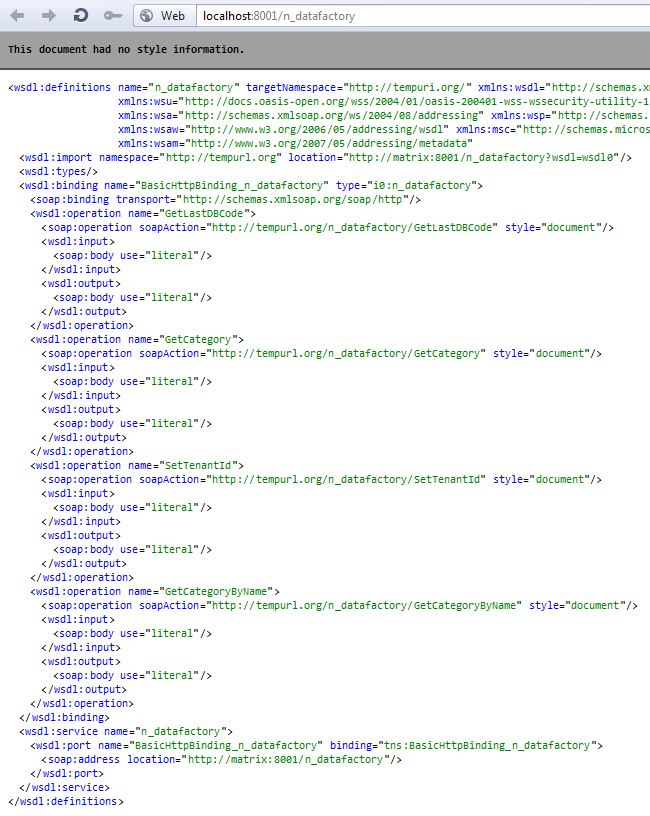
Here is the project painter screen where I started the web service… the Run Web Service button starts the service as a console window like shown here. The View WSDL will open a browser page showing information about the web service.
Viewing the Web Service WSDL information
WSDL Basics
Since WSDL is a machine-readable language (e.g., it’s just an XML file), tools and infrastructure can be easily built around it. Today developers can use WSDL definitions to generate code that knows precisely how to interact with the Web service it describes. This type of code generation hides the tedious details involved in sending and receiving SOAP messages over different protocols and makes Web services approachable by the masses.
The Microsoft® .NET Framework comes with a command-line utility named wsdl.exe that generates classes from WSDL definitions. Wsdl.exe can generate one class for consuming the service and another for implementing the service. (Apache Axis comes with a similar utility named WSDL2Java that performs the same function for Java classes.) Classes generated from the same WSDL definition should be able to communicate with each other through the WSDL-provided interfaces, regardless of the programming languages in use.
The ASP.NET MVC3 Website that is utilizing the PowerBuilder We.NET created Web Service
Notice in the text that this web service call was getting a Category by category id. The next example gets a Category by Category Name using the first few letters (like).
The second example searches by Name.
I was able to set up the Web Service, and MVC pages in just a few hours and that includes coming up to speed on PB12.NET.
For more details continue on to the Step by Step process of creating the Web Service in PowerBuilder 12.5 .NET
If you have any questions on this so far, let me know.
Regards,
Rich (aka DisplacedGuy)


3 Responses
[…] This is a completion of a prior article where I talked about my first experience using PB12.NET to create a WCF Web Service. The WCF Service accesses a Microsoft SQL Server 2008 database and is used to provide data to a web application that I wrote in ASP.NET MVC3. If you want to get a background on my process and take a look at the web service in action then go back to my Creating a WCF Service using PowerBuilder 12.5 first. […]
[…] first post documents the start of my first WCF Web Service created using PowerBuilder, and how I used that web service to supply data to an ASP.NET MVC3 […]
consuming web service with certificate and user credentials and login